Showing posts with label plastic chain. Show all posts

Oct 2, 2013

More on Fimo madness

I´ve got a Fimo madness. Here are some of the results made by using the same technique as in the last post:


Nuff said.

Oct 1, 2013

Horsing around

I got very inspired by modelling clay after a really long time. The reason for such an inspiration was my friend who had done some repro jewelry pieces out of Fimo clay. I have used Cernit modelling clay before, but as my friend recommended  the Fimo, I decided to try it out. And it was a good decision! Fimo is much more ductile and light than Cernit and the colors don´t change when you harden the clay in  an oven.

Here are some 1930's-40's repro pieces I have made of Cernit modelling clay:


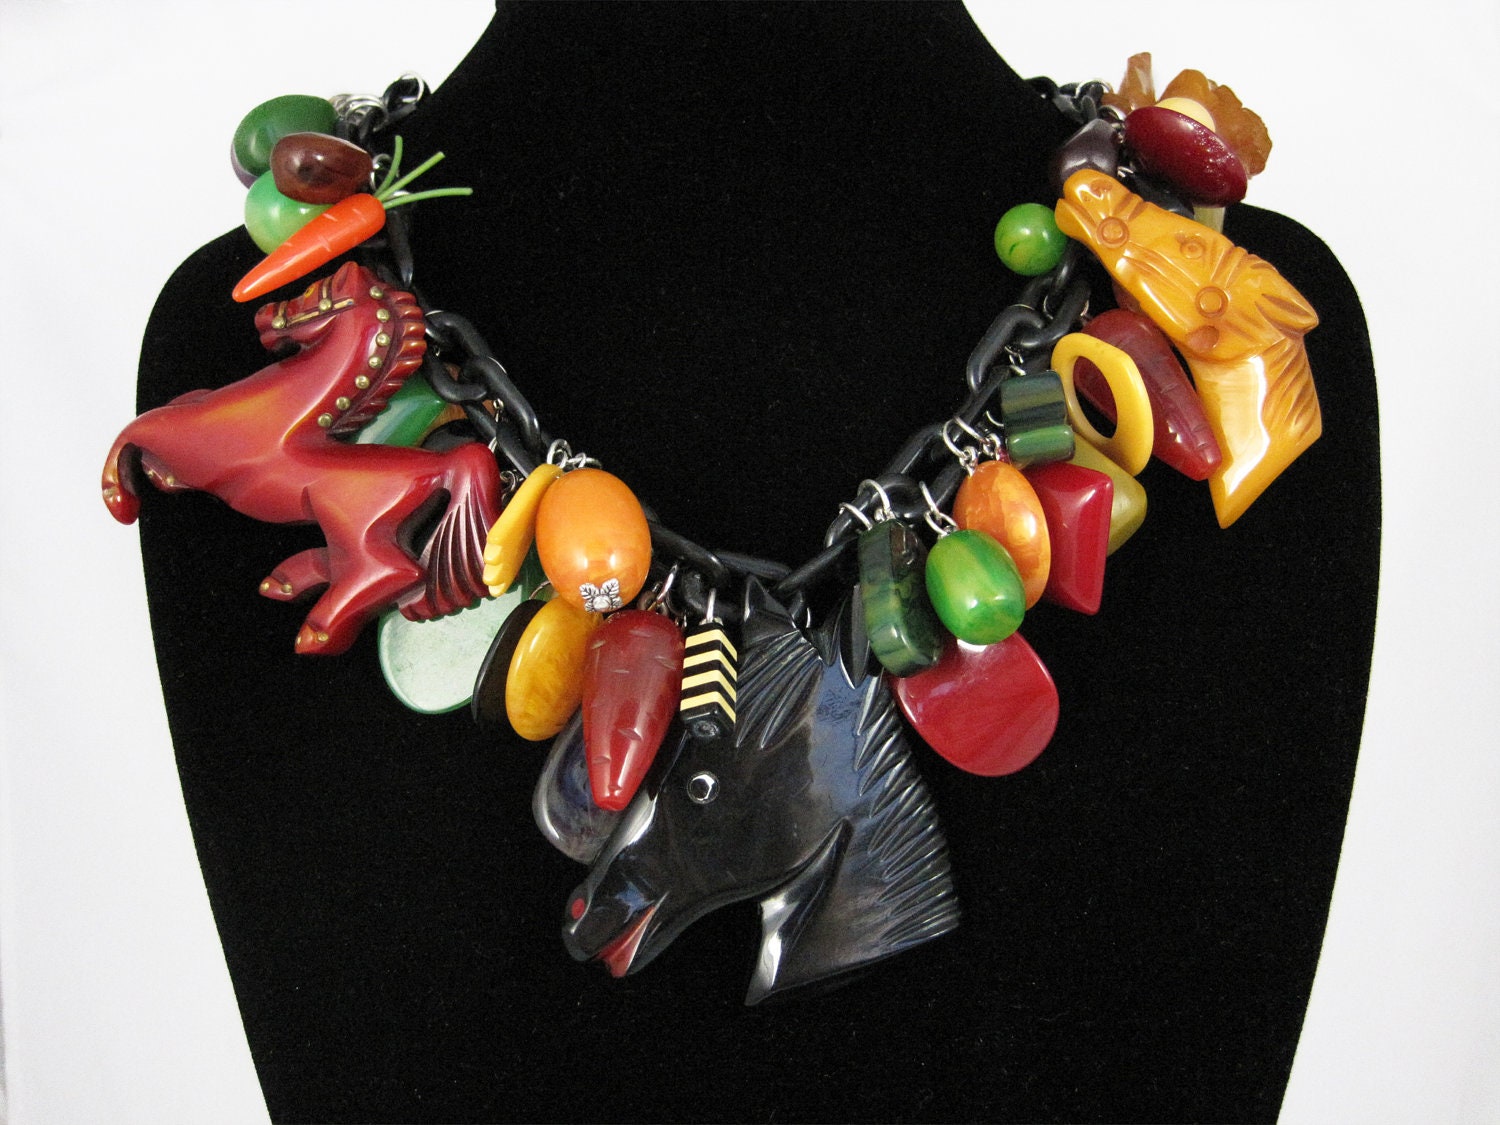
The theme for my Fimo-experiment came to me when I was browsing the net. I searched for some celluloid and bakelite jewelry. I´ve always admired the beautiful bakelite and wooden horsey brooches and other jewelry. They were made in the 1930's-40's in many delicious and rich colors:

(from here)
(from here)
(from here)

And then there is this:

Oh, my sweet jebus..(from here)

But this one really caught my eye:

(sold here)

I started the Fimo mission by drawing and cutting out shapes from a sheet of paper. I made a horse head pattern, cowboy boot pattern and horse shoe pattern. Then I took a piece of yellow Fimo clay and rolled it out flat. Next I placed the patterns on the clay and cut out the shape.  The same was done with the cowboy boot pattern and the horse shoe pattern.


After cutting out the shapes I carved the details with a sharp wooden tool. You can use anything even remotely sharp, for example a needle.


When the pieces were carved I added a few seed beads to the horse shoe as there were studs added to the original one.


Next I added eye pins by sticking them inside the clay. The pins are needed to attach the pieces to plastic chain.


Between the previous and the next phase the clay parts were baked in an oven to make them hard and long-lasting. Remember to follow the instructions on the clay package! It´s crucially important to set the right temperature and time. I´ve seen the horrors of not following them (the pieces looked like dog poop)..

After taking the pieces out of the oven and after letting them cool for a while, I added a piece of plastic chain to the horse head. And attached the boots and the shoe to the chain


Then I used Fimos own gloss varnish to make a glossy finish.


 Last phase was to attach a brooch pin to the back of the horse.


The end result looks like this:


Sep 21, 2013

Autumn is a second spring when every leaf is a flower. -Albert Camus

This post is all about flowers, which in this case really are late bloomers as summer has turned into autumn a while ago. 

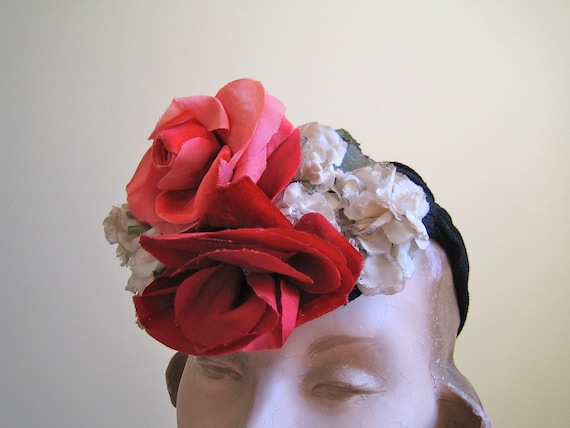
Flowers have been a popular accessory since who knows how long, so it´s no wonder that flowers were everywhere in the 1940's also. They were attached to hair and hats, made into brooches and used to accessorize every outfit from literally tip to toe. Flower accessories were made of any material posibble: different fabrics like felt and velvet, wood, palstic, seashells and metals both precious and scrap. And of course you could use real flowers too. I didn´t find any specific info why the flowers were a big hit back then, but I assume it had something to do with the cheerful nature and beautiful colors of the flowers. Also you could find both inspiration and material for your flower accessories everywhere.

(From here)

 
(from here)

(from here)

 (sold here)

As a dedicated 40's girl I wanted something flowery myself. To make the accessory I needed the idea of a flower necklace and a huge portion of good luck. In a flea market I came across with this big plastic bag full of white plastic flower parts. These kind of flowers can be also detached from artificial flower bouquets or other similar decorational pieces.


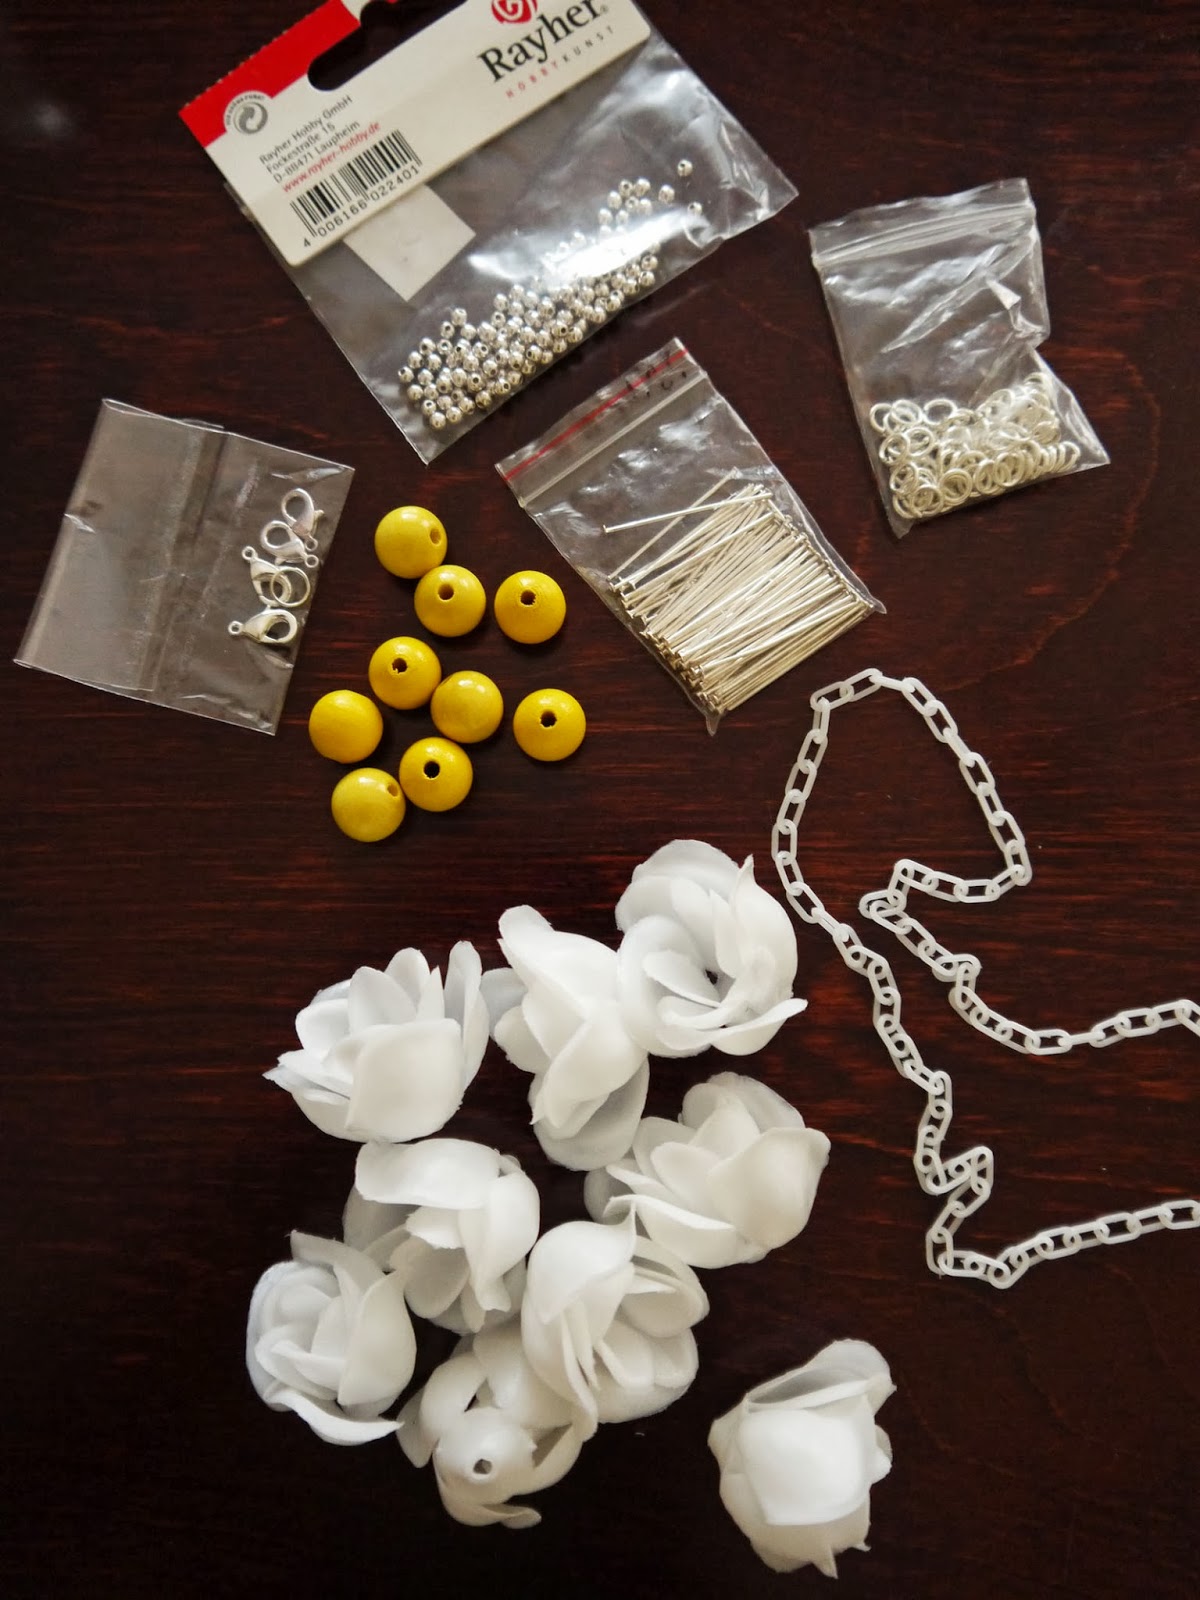
To make the plastic flowers into a necklace, here´s everything else I needed:
- stick pins
- jump rings
- tiny stopper beads
-yellow wooden beads
- plastic chain
- a clasp
- pliers


First slide a stopper bead and a yellow wooden bead to a stick pin.


Then add the petals.


Twist the end of the stick pin into a loop with pliers..


..and add the jump ring to the loop.


Attach the flowers (I made nine flowers in total) to the plastic chain with the rings.


And tadaa! You´re done!


Or if you want to proceed you can do several with different colors!


Jun 13, 2013

From the other side of the world

Flea markets are great places for finding something useful for craft projects. It´s amazing what you can find by simply digging through boxes full of miscellaneous knick knacks. Knick knacks like these pretties:

I really don´t know what is the purpose of these trinkets, but I´m guessing they are some sort of a souvenir. Maybe from Spain? I love vintage souvenier accessories. I have scarfs and jewelry from around the world. One thing I am certain about is that these lovelies are old, perhaps from the 40´s, 50´s or at most from the 60´s. The material is painted (only from another side) wood and the figurines hang from peculiar hooks. Here´s the whole bunch of them:

I took the hooks off and attached an extra jump ring to each one of the figurines. The figurines I attached to the plastic chain (that I use a lot) with my trusty pliers. I like the kitschy look of the chain and figurines together.


And here´s the finished product:

 I have already worn this to work. I work as an elementary school teacher and especially the smaller kids tend to like big and colorful jewelry. As the day goes by, there is always someone who comes up and turns these figurines around, as they often turn the wrong side up.

Apr 19, 2013

Leave no Pin Standing

I will start this post with a bowling related inspiration:

Some more vintage campus and saddle shoes images here.

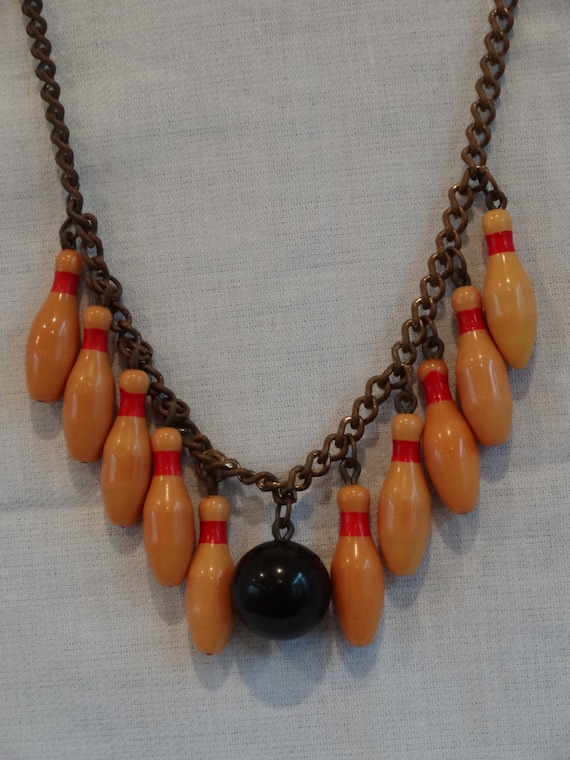
First when I saw the picture above I didn´t think much of it. But something made me return to it. Then I realised what it was! This 40's campus girl is wearing a bowling pin necklace! I had never seen or paid attention to such jewelry, but as I wandered about in the magical world of Ebay and Etsy I found all kinds of gorgeous and funny bowling related jewelry:


Those pieces above are all clearly made of wood except the first one. In my inspiration picture though the girl has white pins on her necklace. I wanted to copy that look and make my own striking (ha!) bowling pin necklace. To make it I used these items:

   
1. Bowling pin beads. (I ordered mine from here.)
2. Some plastic chain. (Mine came from Treasuretrovebeads.)
3. As many headpin needles as there are pin beads.
4. A clasp.
(5. If the hole of the pin bead is so big that a headpin needle slides right through, you need some buffer beads (the silver ones).)


Slide first a headpin needle through a buffer bead (if you need one) and then the pin bead.


Use some crafting pliers to make a hook at the end of the headpin needle.


Then slide the hook through a link of the plastic chain. Press with the pliers to make the hook into a loop. I chose to use this plastic chain as same kind of chain was much used in jewelry in the 40's.


Attach as many pin beads as you like. I used eleven beads and attached them to every fourth link. The length of the plastic chain depends on how low you want the necklace to hang.


Add the clasp and..


..you´re done!