Showing posts with label dangle. Show all posts

Sep 21, 2013

Autumn is a second spring when every leaf is a flower. -Albert Camus

This post is all about flowers, which in this case really are late bloomers as summer has turned into autumn a while ago. 

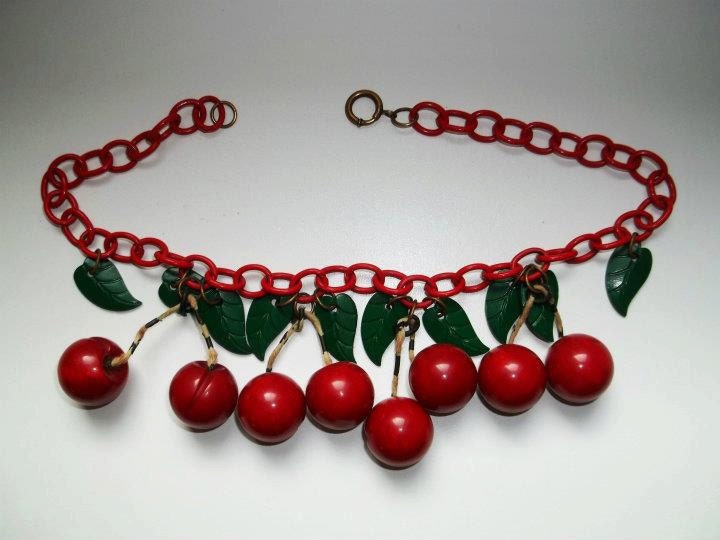
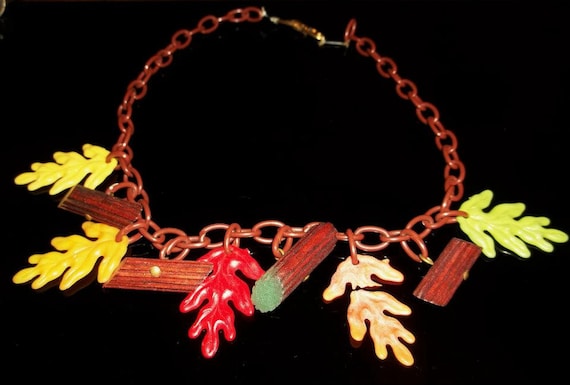
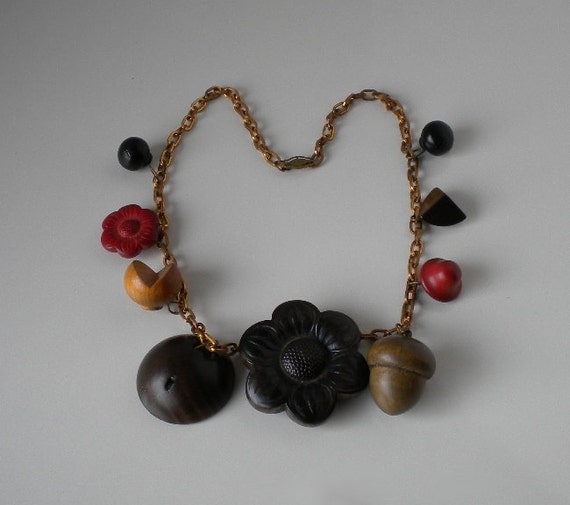
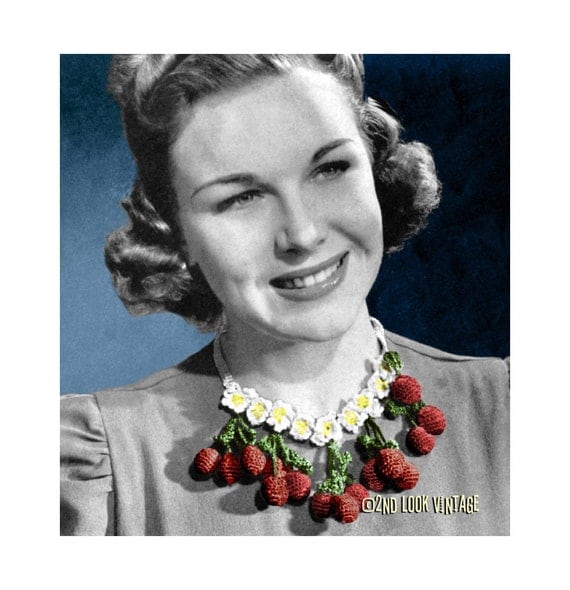
Flowers have been a popular accessory since who knows how long, so it´s no wonder that flowers were everywhere in the 1940's also. They were attached to hair and hats, made into brooches and used to accessorize every outfit from literally tip to toe. Flower accessories were made of any material posibble: different fabrics like felt and velvet, wood, palstic, seashells and metals both precious and scrap. And of course you could use real flowers too. I didn´t find any specific info why the flowers were a big hit back then, but I assume it had something to do with the cheerful nature and beautiful colors of the flowers. Also you could find both inspiration and material for your flower accessories everywhere.

(From here)

 
(from here)

(from here)
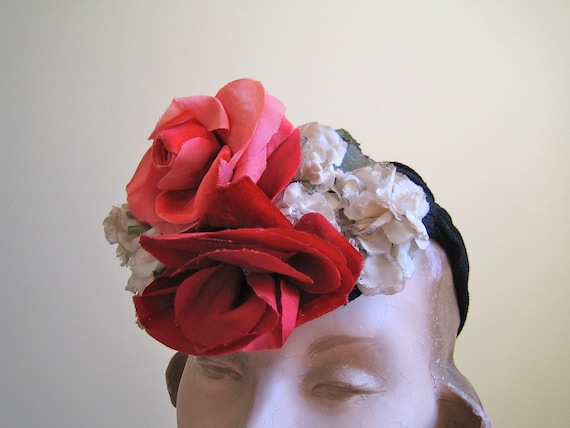
 (sold here)

As a dedicated 40's girl I wanted something flowery myself. To make the accessory I needed the idea of a flower necklace and a huge portion of good luck. In a flea market I came across with this big plastic bag full of white plastic flower parts. These kind of flowers can be also detached from artificial flower bouquets or other similar decorational pieces.


To make the plastic flowers into a necklace, here´s everything else I needed:
- stick pins
- jump rings
- tiny stopper beads
-yellow wooden beads
- plastic chain
- a clasp
- pliers
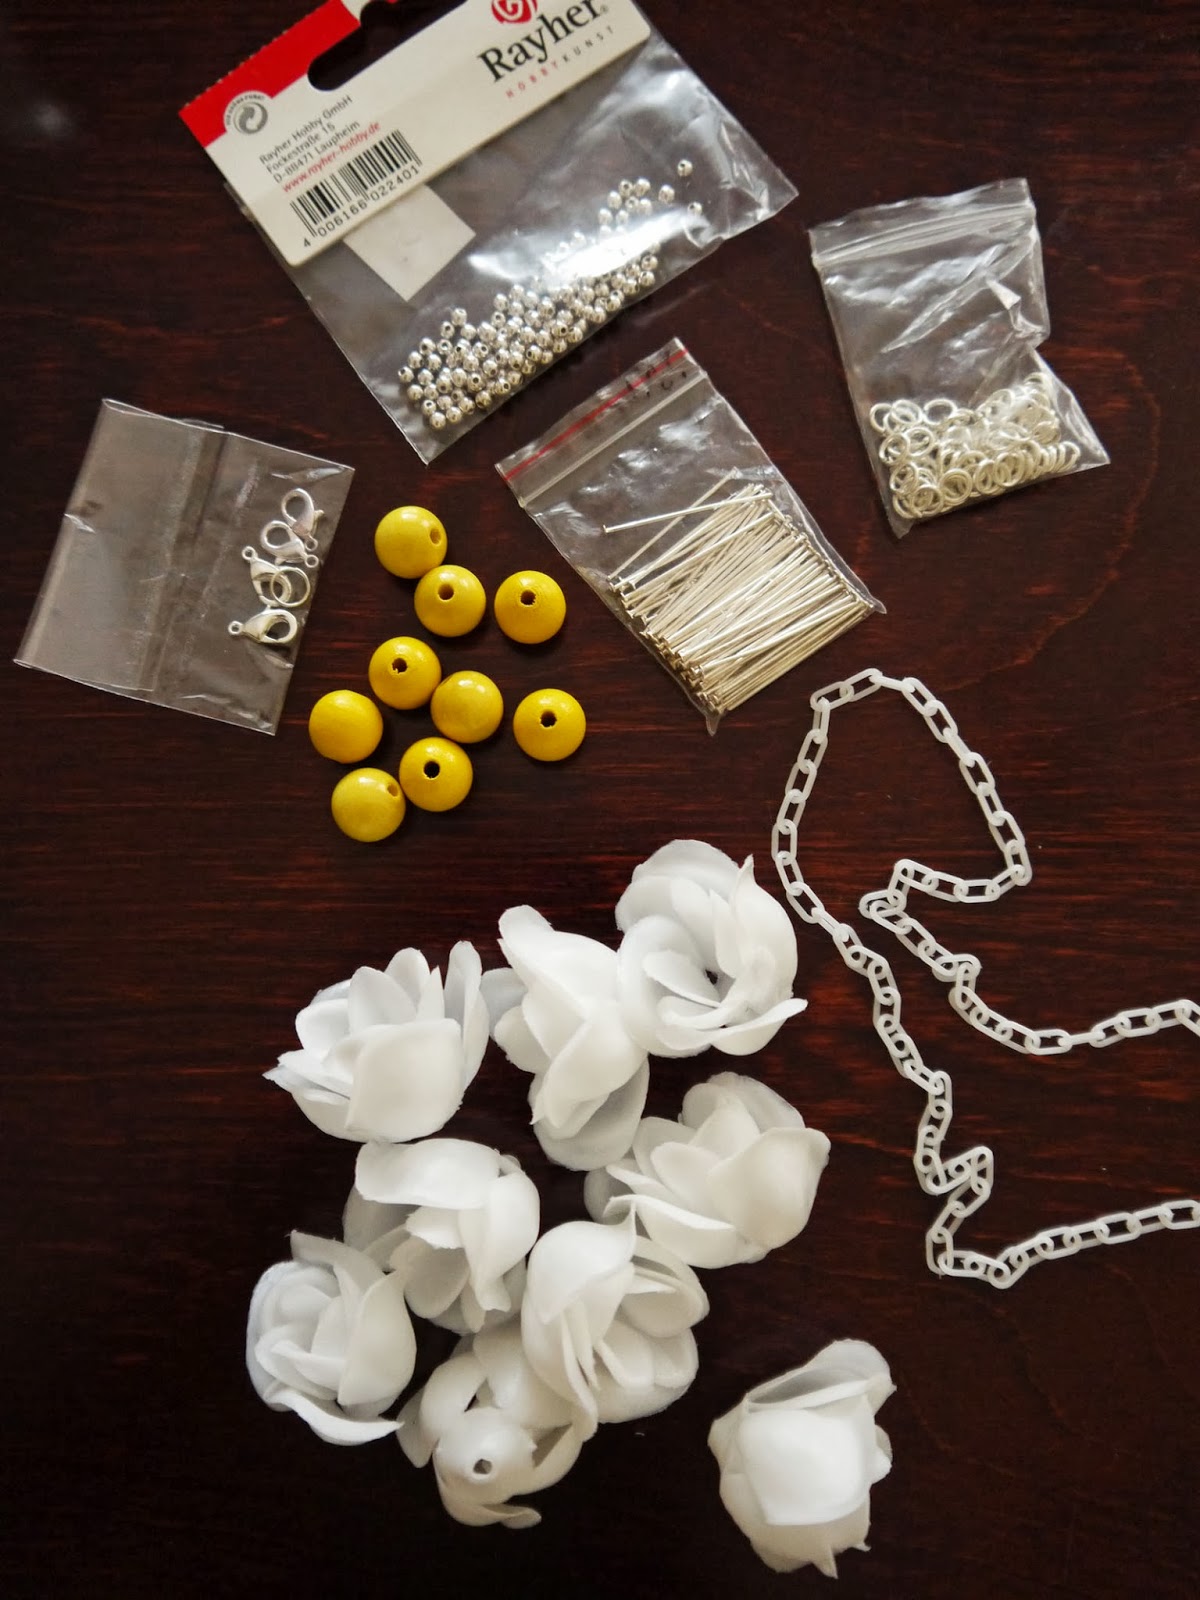

First slide a stopper bead and a yellow wooden bead to a stick pin.


Then add the petals.


Twist the end of the stick pin into a loop with pliers..


..and add the jump ring to the loop.


Attach the flowers (I made nine flowers in total) to the plastic chain with the rings.


And tadaa! You´re done!


Or if you want to proceed you can do several with different colors!


Jun 13, 2013

From the other side of the world

Flea markets are great places for finding something useful for craft projects. It´s amazing what you can find by simply digging through boxes full of miscellaneous knick knacks. Knick knacks like these pretties:

I really don´t know what is the purpose of these trinkets, but I´m guessing they are some sort of a souvenir. Maybe from Spain? I love vintage souvenier accessories. I have scarfs and jewelry from around the world. One thing I am certain about is that these lovelies are old, perhaps from the 40´s, 50´s or at most from the 60´s. The material is painted (only from another side) wood and the figurines hang from peculiar hooks. Here´s the whole bunch of them:

I took the hooks off and attached an extra jump ring to each one of the figurines. The figurines I attached to the plastic chain (that I use a lot) with my trusty pliers. I like the kitschy look of the chain and figurines together.


And here´s the finished product:

 I have already worn this to work. I work as an elementary school teacher and especially the smaller kids tend to like big and colorful jewelry. As the day goes by, there is always someone who comes up and turns these figurines around, as they often turn the wrong side up.

Apr 19, 2013

Leave no Pin Standing

I will start this post with a bowling related inspiration:

Some more vintage campus and saddle shoes images here.

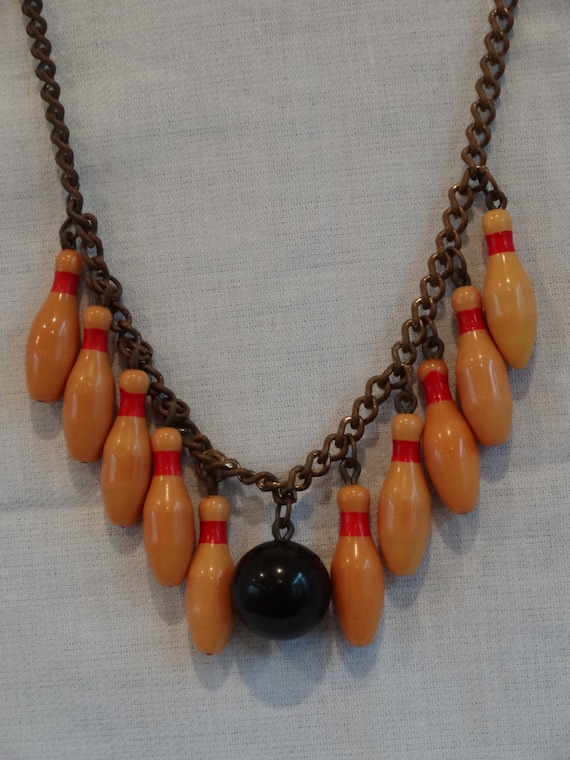
First when I saw the picture above I didn´t think much of it. But something made me return to it. Then I realised what it was! This 40's campus girl is wearing a bowling pin necklace! I had never seen or paid attention to such jewelry, but as I wandered about in the magical world of Ebay and Etsy I found all kinds of gorgeous and funny bowling related jewelry:


Those pieces above are all clearly made of wood except the first one. In my inspiration picture though the girl has white pins on her necklace. I wanted to copy that look and make my own striking (ha!) bowling pin necklace. To make it I used these items:

   
1. Bowling pin beads. (I ordered mine from here.)
2. Some plastic chain. (Mine came from Treasuretrovebeads.)
3. As many headpin needles as there are pin beads.
4. A clasp.
(5. If the hole of the pin bead is so big that a headpin needle slides right through, you need some buffer beads (the silver ones).)


Slide first a headpin needle through a buffer bead (if you need one) and then the pin bead.


Use some crafting pliers to make a hook at the end of the headpin needle.


Then slide the hook through a link of the plastic chain. Press with the pliers to make the hook into a loop. I chose to use this plastic chain as same kind of chain was much used in jewelry in the 40's.


Attach as many pin beads as you like. I used eleven beads and attached them to every fourth link. The length of the plastic chain depends on how low you want the necklace to hang.


Add the clasp and..


..you´re done!

Feb 27, 2013

Ring a Ring o' Roses

The 1940's jewelry I usually find from flea markets and vintage or antiquity events, are the ordinary and humble ones that are manufactured from different metals. 

From my own collection.

Don´t get me wrong, they are cute, but I´m longing for some bright colors, kitschiness, chunky bakelites and quirky shapes! Jewelry that fullfills my criteria is either hard to find or expensive to buy.. Or both. But nout to worry! The problem is solved by making the desired jewelry by hand. As I said on the first post, I know it is not the same thing as having the authentic pieces, but as a defence I can say many women crafted their own accessories especially in the war time. First I want to show you some necklaces that inspired me and then give out some insructions how I made my own 40's inspired necklace.

Here´s something big, plastic and pretensious for you to enjoy:


 Sold here.

Sold here.

It doesen´t always have to be about plastics! Wood, leather or knittings are also the way to go:

Sold here.
 
Pattern sold here.

I wound up trying the wood, because it is the most simple to find in different shapes (and I´m not such a great knitter). 


 To make this necklace I bought seven unfinished circular and seven unfinished round wooden beads and painted them with bright red craft paint. The amount of beads depends on the length of the necklace. To join the circle and the round bead I needed headpin needles.


When joining the two beads make sure the hole of the round bead is small enough so the headpin doesen´t slide through. I didin´t so I had to use an electicians socket (the silver one in the picture above) inside the round bead to make the hole smaller.


Then I made a loop at the end of the headpin needle with some crafting  pliers.


The last phase is to tie the beads to a string from the hook that was made in the last picture. I used this nylon beading cord I have seen beeing used in the 40's necklaces. The beads are tied about 1.6 inches/4 cm apart from each other. At the ends of the cord I tied some nude colored beads.