Showing posts with label flower. Show all posts

Jun 25, 2014

Gorgeous hair is the best revenge. -Ivana Trump

I´ve been absent for quite a while. But there is a proper reason for that: I have been working and trying to graduate. The last one I did a week ago! Hooray! Now I've been on a holiday, but there are still some upcoming changes which are going to be quick and chaotic -eek!

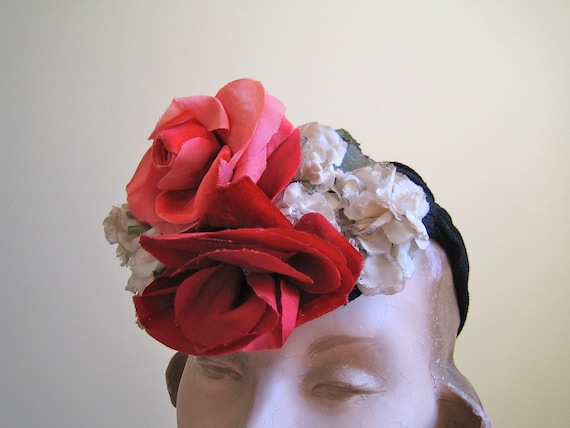
But for now it's time to shape up and make a post. I visited our capital city a few years ago with one of my vintage loving friends. We entered this legendary shop which always presents some rare finds. This time I picked up a hairnet that was sprayed with pretty selfmade felt flowers. It really was a 1940s statement piece. It was a decorated version of plain hairnets that were used along with the thicker knitted versions, snoods. Thinner hairnets were meant to hold a hairdo together through the day and snoods for one were more rough and work related. Both were popular in the 1940s. The flowers in this particular decorated net were made in different colors: reddish orange, blue, poisonous green..My friend loved it too and bought it. I haven't stopped thinking about it and decided to finally make my own. 


Here are the instructions for a 1940s flowery hairnet:

What you need:
hairnet
felt(s)
beads
stick pins
scissors
pliers

First of all you need to pick up some felts. Then make a pattern out of paper. Before drawing and cutting the pattern you need to decide how small or large you want the flowers to be. I just draw circles by using a circular object. Use the pattern and cut out a wanted number of flowers from the felt(s).


Use scissors and roughly cut petals. Make them more life-like by rubbing and rolling the flowers between your hands.


Attach a couple of felt flowers together by using jewelry stick pins and beads to make the flower look more full. String a bead to the stick pin and force the pin through the flowers.


Use pliers to attach ready flowers to the hairnet. (Find a volunteer like a spouse and borrow his/her head as a hairnet stand -it really eases the work!) Twist the free end of the stick pin to a circle and attach to a string of the net. I attached the flowers to the bottom part of the net. after applying all the flowers the net is ready to wear!


Sep 21, 2013

Autumn is a second spring when every leaf is a flower. -Albert Camus

This post is all about flowers, which in this case really are late bloomers as summer has turned into autumn a while ago. 

Flowers have been a popular accessory since who knows how long, so it´s no wonder that flowers were everywhere in the 1940's also. They were attached to hair and hats, made into brooches and used to accessorize every outfit from literally tip to toe. Flower accessories were made of any material posibble: different fabrics like felt and velvet, wood, palstic, seashells and metals both precious and scrap. And of course you could use real flowers too. I didn´t find any specific info why the flowers were a big hit back then, but I assume it had something to do with the cheerful nature and beautiful colors of the flowers. Also you could find both inspiration and material for your flower accessories everywhere.

(From here)

 
(from here)

(from here)

 (sold here)

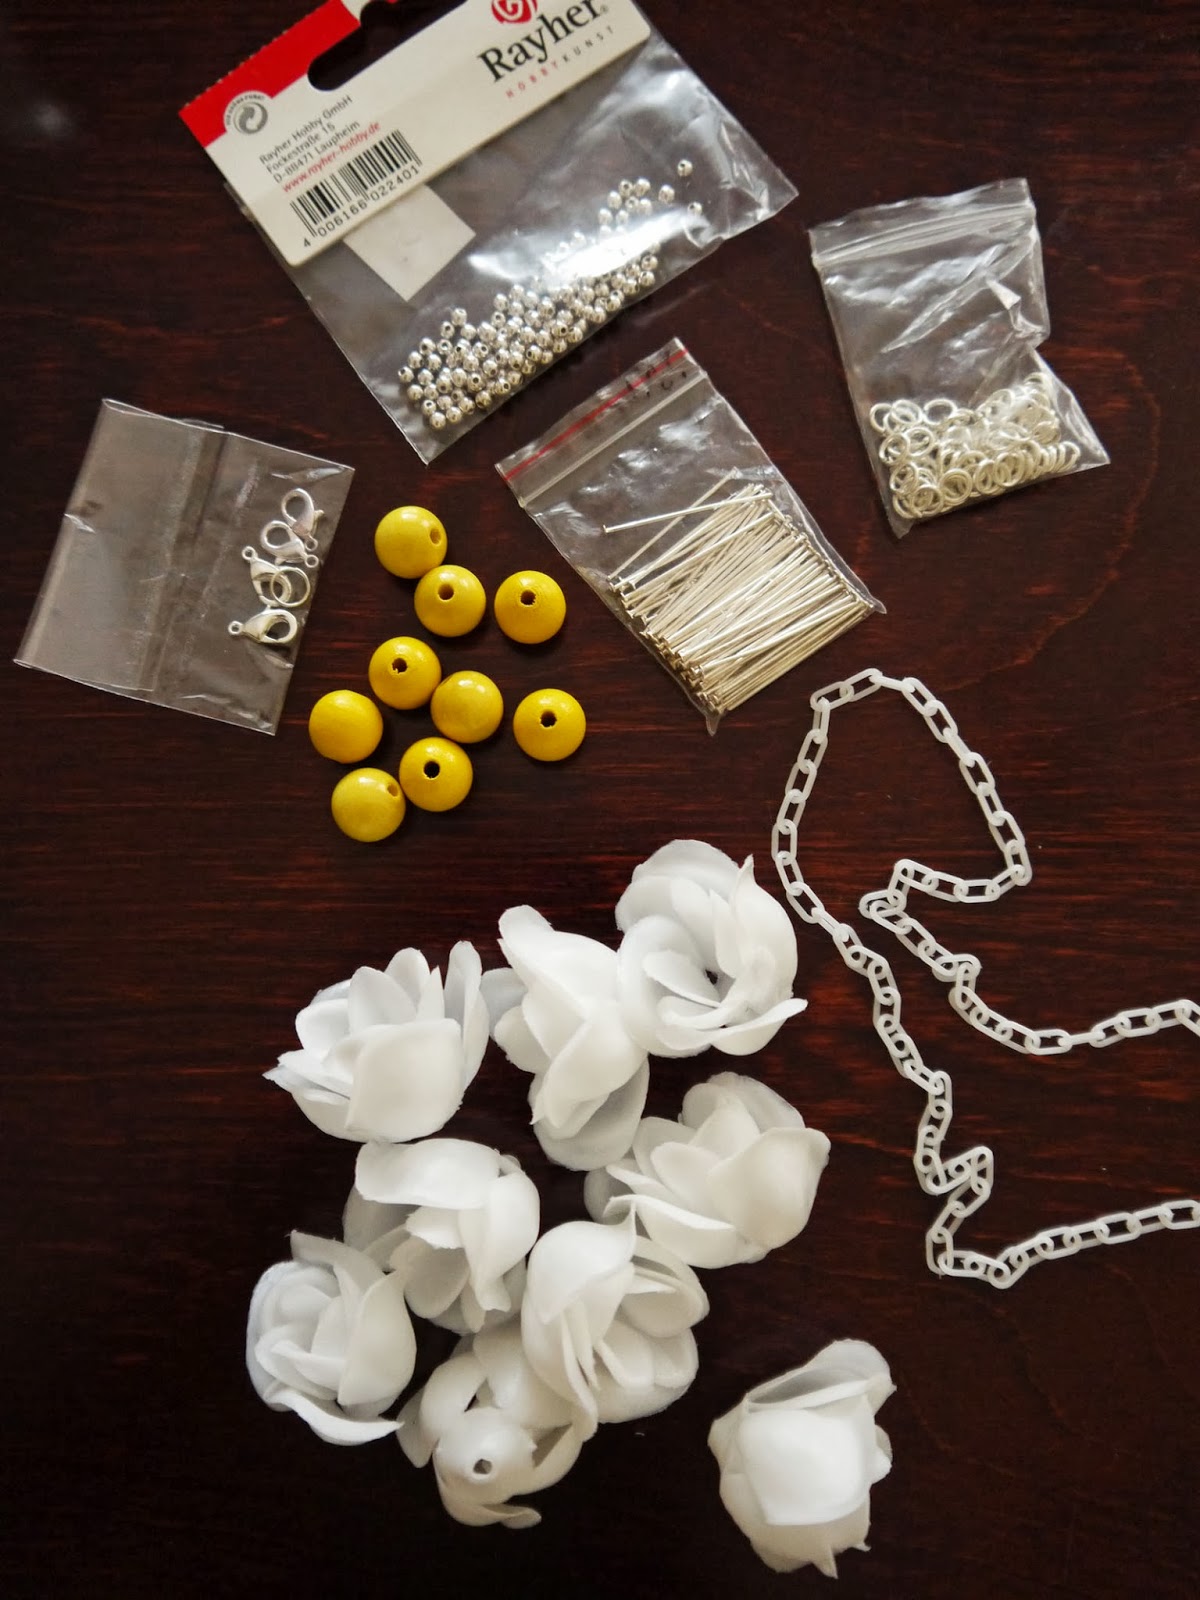
As a dedicated 40's girl I wanted something flowery myself. To make the accessory I needed the idea of a flower necklace and a huge portion of good luck. In a flea market I came across with this big plastic bag full of white plastic flower parts. These kind of flowers can be also detached from artificial flower bouquets or other similar decorational pieces.


To make the plastic flowers into a necklace, here´s everything else I needed:
- stick pins
- jump rings
- tiny stopper beads
-yellow wooden beads
- plastic chain
- a clasp
- pliers


First slide a stopper bead and a yellow wooden bead to a stick pin.


Then add the petals.


Twist the end of the stick pin into a loop with pliers..


..and add the jump ring to the loop.


Attach the flowers (I made nine flowers in total) to the plastic chain with the rings.


And tadaa! You´re done!


Or if you want to proceed you can do several with different colors!


May 9, 2013

I felt like it.

I´ve been reading this great blog called Land Girl 1980. The writer calls herself a retro dresser and a history lover who is obsessed by the 1940's and history in general. The reason why I mentioned this blog is this post:

 Picture from her blog.

I got so excited by her post I went and bought a hair rat of my own! Now I´ve made a back roll almost every day this week. I usually accessorise it with some store bought flowers, but today I wanted to make an alternative for them. 

First I dug through my crafts box to find pieces of felt and some hair combs (bought from here). Felt is such an easy material to work with and I like the naive look of felt flowers, so I decided to try them as a hair accessory. Here are the felts (minus a brown one I also desided to use) and the patterns I used:


Then I cut out 3 big flowers and 3 small ones in different colors. Next step was to make them look more natural and real:


I stitched through every petal using straight stitch and made sure the thread ran freely. It should do so as you should be able to tighten the thread by pulling it after the last petal. The yellow and peach ones are in the making and the white one is ready.


I also cut some leafs as you can see.
 

After stitching every flower I attached them to the hair comb with Epoxy glue. I advice not to get glue on your fingers as well (like I did) as the glue is pretty strong. You can also attach the flowers with thread or string or maybe even with wire.

And here´s the finished product:


The leafs and flowers would also look nice with some yarn or bead details and decorations.

Apr 8, 2013

Less yapping, more embroidering!

It´s finished! And by it I mean the felt embroidering I started here. Pattern of embroidering changed a bit along the way when I found a volume of an old Finnish crafting magazine (Omin käsin) from flea market. Magazines were from the year 1938 and one of them contained a great felt embroidery pattern (below). Lucky me!


To duplicate the pattern from the magazine I needed some  tissue paper. You can also use parching paper or some other see through paper.


Then I cut out the pattern and pinned it to a piece of felt. Felt is easier to cut with small and sharp scissors.


I did some "sketching" to find a place for every piece.


 When all the flowers and leaves had found their place I pinned them to the sweater. The flowers were easily attached by stitching. With every stich I slipped a yellow seed bead to the thread.


Then it was time for the leaves and stems. They are attached the same way as the flowers.


 And voilá!