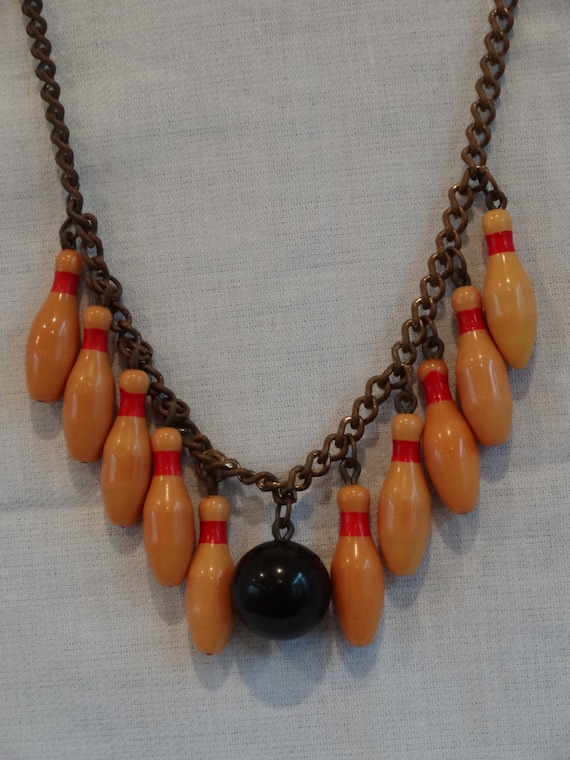
I will start this post with a bowling related inspiration:

Some more vintage campus and saddle shoes images here.
First when I saw the picture above I didn´t think much of it. But something made me return to it. Then I realised what it was! This 40's campus girl is wearing a bowling pin necklace! I had never seen or paid attention to such jewelry, but as I wandered about in the magical world of Ebay and Etsy I found all kinds of gorgeous and funny bowling related jewelry:

lw~~60_57.JPG)

Those pieces above are all clearly made of wood except the first one. In
my inspiration picture though the girl has white pins on her necklace. I
wanted to copy that look and make my own striking (ha!) bowling pin
necklace. To make it I used these items:

1. Bowling pin beads. (I ordered mine from here.)
2. Some plastic chain. (Mine came from Treasuretrovebeads.)
3. As many headpin needles as there are pin beads.
4. A clasp.
(5. If the hole of the pin bead is so big that a headpin needle slides right through, you need some buffer beads (the silver ones).)

Slide first a headpin needle through a buffer bead (if you need one) and then the pin bead.

Use some crafting pliers to make a hook at the end of the headpin needle.

Then slide the hook through a link of the plastic chain. Press with the pliers to make the hook into a loop. I chose to use this plastic chain as same kind of chain was much used in jewelry in the 40's.

Attach as many pin beads as you like. I used eleven beads and attached them to every fourth link. The length of the plastic chain depends on how low you want the necklace to hang.
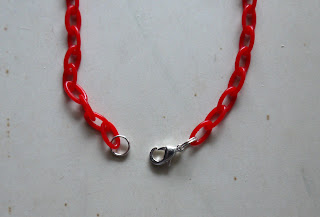 Add the clasp and..


..you´re done!


